 Managing your content
Note: This is the print view with all the Reference Manual pages on one page. The paginated version is available here, if you prefer that.
1. What is a workflow and why do I need one?
Workflows and document publishing
A workflow is a
process that your document passes through before it becomes available to others
via Plone. This process ensures that content posted on Plone meets standards for access control, security and intellectual property requirements.
When an item is first created, its state is visible. If the document
must be reviewed by a second-party before it is published, then that person(s)
is part of the workflow. At each point
in the workflow your document will have a different state. These states are listed below.
|
State |
Description |
|
Visible |
|
|
Pending |
|
|
Published |
|
|
Private |
|
2. How does content get reviewed in a workflow?
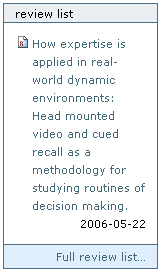
 The review list will appear on the right when you log in as a user who has review authorization and there are items to review. The review list is a list of items that have been submitted by for review.
Click the document link to open the item. At this point you have the following choices for this item:
Reject the item:
Reject the item by selecting reject from the drop-down choices
You would reject the item if you feel that it is not appropriate for the site, or if it requires more work
This returns the item to the visible state
Usually you will want to click the advanced option to open the comment form and add some comments describing why the document was rejected
Approve the item:
Approve the item by selecting Publish.
This changes the content into the published state
The content is now publicly available
Edit the item:
As the reviewer you have permission to edit the document yourself. So make any changes that are necessary, and then approve the item.
Do nothing:
If you’re not sure whether this item is suitable or not, you can just leave it
This will put the document in limbo for the time being, and it will eventually need to be either approved, edited or rejected.
3. How to edit a published document
In order to make an edit to a previously published document, there are two choices:
Author
- The author can chose retract from the workflow drop-down item, which moves the document back into the visible state.
- The author then makes the change and saves the document which adds it back to the review list.
- It must be approved by the review/manager and then it is published again
Manager
- Any manager can edit any document
- So he/she edits the document, and it is republished without needed to go through the workflow process.
4. Editing metadata for files

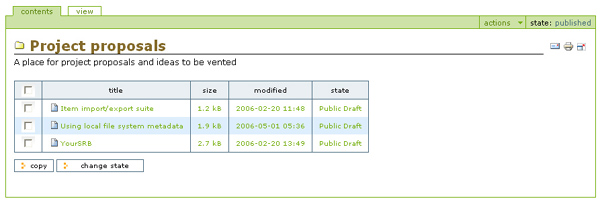
Individual file and document metadata may be edited by selecting items from the Contents tab of your folder.
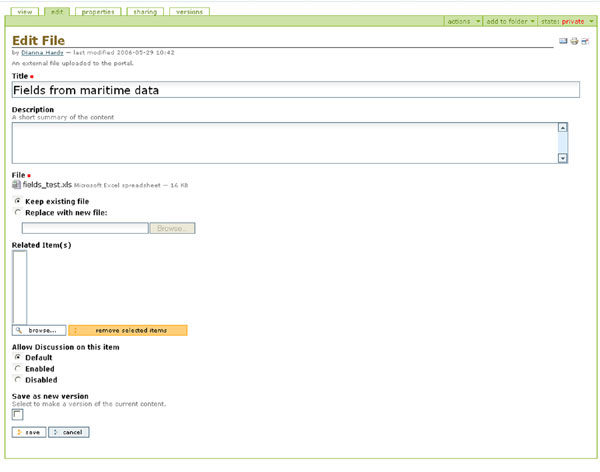
Click on the Title of the item, and then the Edit tab on the Plone bar.
Make any changes needed to the metadata fields and click the Save button to finish.
5. Adding an updated version of a file
In order to upload a newer version of a file, you will need to edit that item. Choose the item from the contents view tab in your folder, and then click the edit tab on the Plone bar.

Only the fields with a red box are required.
To update your file, click the Replace with new file radio button, and click the Browse button to select the new version of the file.
If you would like to save this as an alternate version of the file, click the Save as new version check box. If this choice is made a comments box will appear, allowing you to add version information.
6. Sharing a document
Currently the only way to share a document in Plone is to grant ownership of your document to the other person(s). To do this:
- Set the state of the document
to Private
- Click the sharing tab on the
Plone bar
- The sharing page has 4 sections:
- Current sharing permissions
- Add sharing permissions to users
- Add sharing permissions to groups
- Change ownership of this page
- Scroll down to the section "Add
sharing permissions to users"
In this section you specify the user to whom you would like to grant ownership of the page.
Enter their user name in the Search Term field and click the "perform search" button. - You should now see the screen below.
Select Owner from the Role to assign drop-down list and click the "assign local role to related user(s)" button.


